
A disinfectant spray is widely used to lower the presence of germs on household surfaces. However, correct use depends on contact time, surface type, and product labeling. Using a sanitizing spray incorrectly can reduce its effectiveness or damage certain materials.
What Disinfectant Spray Does?
A sanitizing spray is designed to reduce microorganisms such as bacteria and certain viruses on hard, non-porous surfaces. It works by using chemical agents that interfere with microbial cell structure or viral activity.
A sanitizing spray does not clean dirt or grease on its own. Visible soil must be removed before application. It is also not intended for use on skin or food. Understanding these limits helps clarify what a sanitizing spray can realistically do in everyday settings.
How to Use Disinfectant Spray Step by Step
Step 1: Pre-clean dirt and residue
Before using the sanitizing spray, remove visible soil using soap, detergent, or a general cleaner. This step allows the sanitizing spray to contact the surface directly rather than sitting on debris.
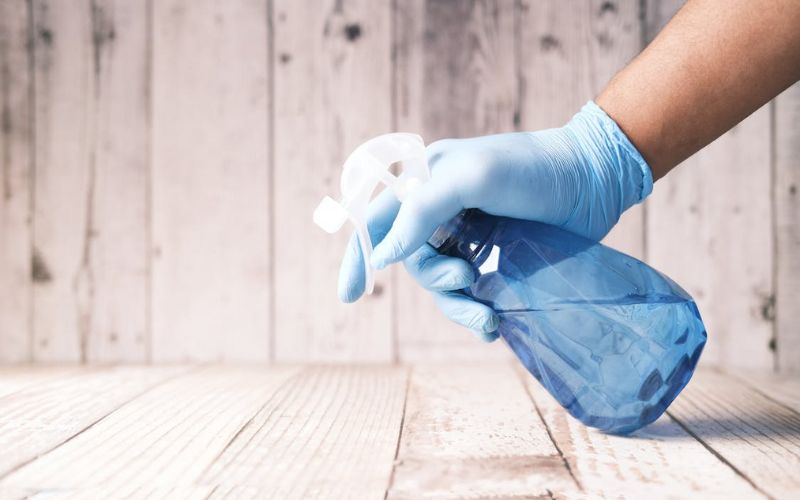
Step 2: Spray the surface evenly (coverage rules)
Apply antibacterial spray so the entire surface is coated. Missed spots may allow germs to remain. Even coverage ensures consistent contact with the surface.
Step 3: Keep the surface wet for label time
Antibacterial spray must stay wet for the full contact time listed on the product label. Drying too soon can reduce effectiveness. Contact time varies by product and target organism.
Step 4: Air dry or wipe, based on label wording
Some antibacterial spray products require air drying, while others allow wiping after the contact time ends. Follow label directions to avoid removing the disinfectant too early.
Note:
- Contact time is the amount of time a disinfectant must remain wet on a surface to work effectively.
- Many disinfectant sprays require between 30 seconds and 10 minutes, depending on the germs listed on the label. If the surface dries too soon, the disinfectant may not fully work.
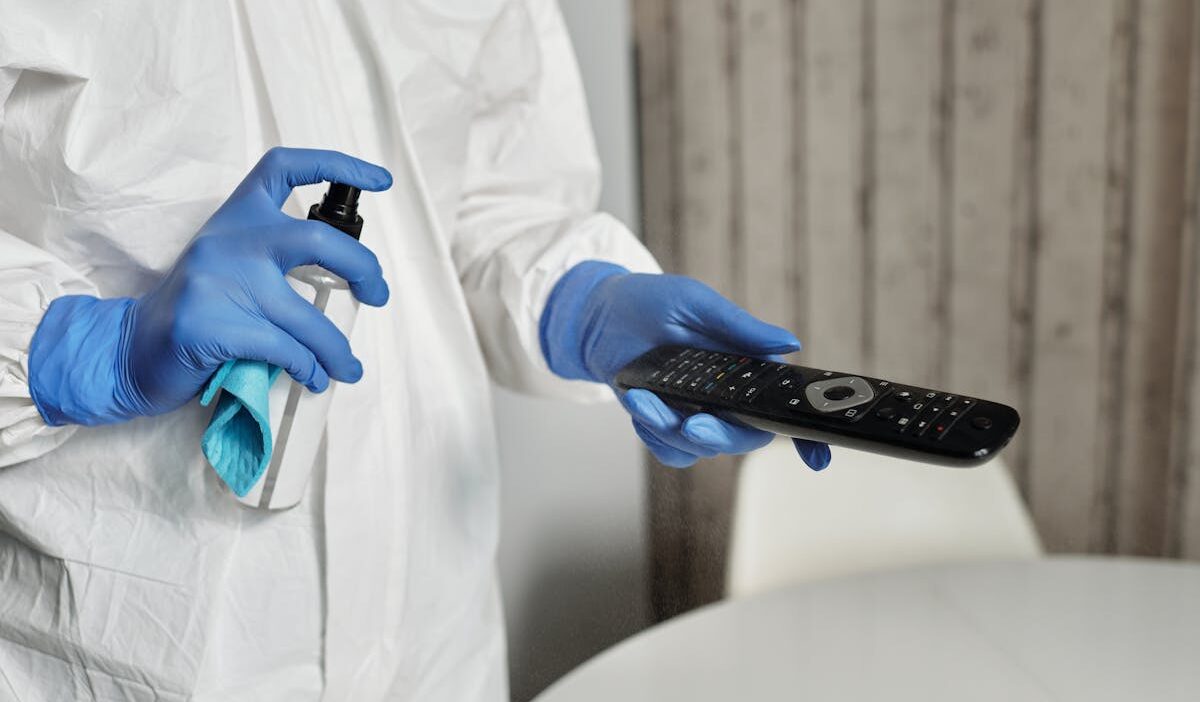
Step 5: Hand hygiene after use
After handling antibacterial spray, wash your hands with soap and water. This reduces skin exposure to chemical residue and supports safe use.
>>> Read more: How Many Ounces in a Cup? US, Metric, Dry & Liquid Answers
Where Disinfectant Spray Can Be Used Safely
Kitchens
In kitchens, antibacterial spray can be used on countertops, sinks, and appliance handles after food residue is removed. Food-contact surfaces may require rinsing after use, depending on label instructions.
Bathrooms
Bathrooms are common locations for antibacterial spray due to moisture and frequent contact. Toilets, faucets, and sink surfaces are typical areas for application.
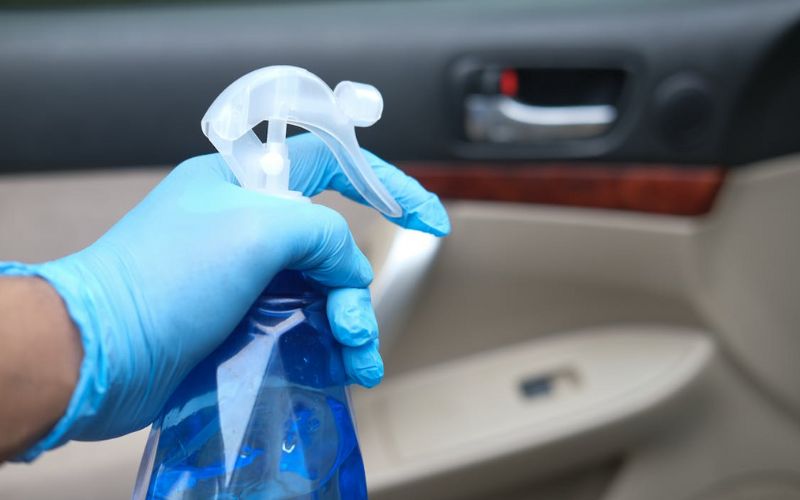
Electronics and screens
Some antibacterial spray products are not suitable for electronics. For screens and devices, use products labeled as safe for electronics or apply antibacterial spray to a cloth rather than spraying directly.
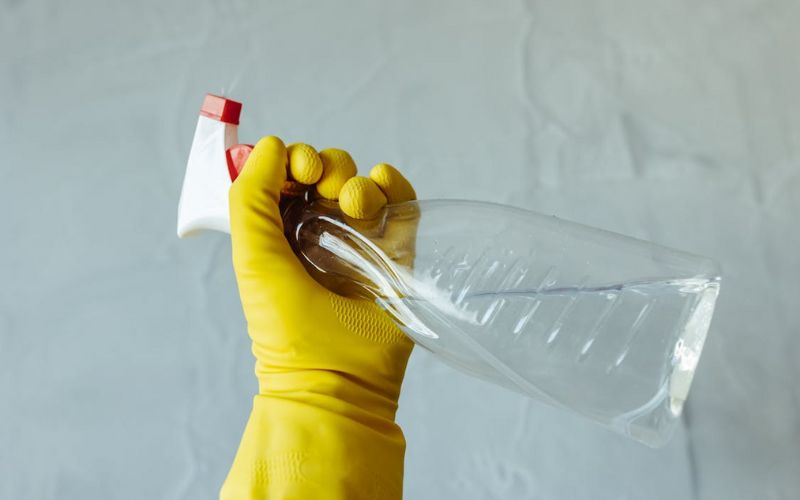
How to Make Disinfectant Spray at Home
Step 1: Choose the correct active ingredient
Household bleach with a known concentration of sodium hypochlorite is commonly used for home disinfectant solutions. Check the label to confirm the percentage listed. Do not use scented bleach or products with added cleaners.
Step 2: Measure the proper dilution ratio
For general surface disinfection, bleach is diluted with clean water at a specific ratio recommended by public health authorities. Use a measuring cup to avoid guesswork.
Accurate dilution helps the disinfectant solution remain effective while reducing surface damage or irritation. Too much bleach can be harmful, while too little reduces germ control.
Step 3: Mix the solution safely
Pour water into a clean container first, then add the measured amount of bleach. Mixing in this order helps reduce splash risk. Use a well-ventilated area and avoid breathing fumes during preparation.
Step 4: Transfer to a labeled spray bottle
Pour the mixed solution into a spray bottle that has never contained other chemicals. Clearly label the bottle with the contents and the date mixed. Clear labeling helps prevent accidental misuse and reminds users that homemade germ-killing spray has a limited usable period.
Step 5: Use the solution within the recommended time
Homemade disinfectant solutions lose strength over time. Most guidance recommends preparing a fresh batch daily or as directed by health authorities. Using a fresh solution ensures that how to make germ-killing spray results in a product that performs as expected.
Step 6: Store and handle with care
Keep the spray bottle out of reach of children and pets. Do not mix the disinfectant solution with other cleaners, including ammonia or acids, as this can release harmful gases. Proper storage and handling are part of safe use after learning how to make germ-killing spray at home.
>>> Read more: How Many Oz in a Gallon? US vs UK, Ways to Measure Rightly
Common Mistakes When Use Disinfectant Spray
- Spraying without removing visible dirt first
Disinfectant spray is meant to work on clean surfaces. When dirt, grease, or food residue is present, the active ingredients may not reach germs effectively. This mistake often leads users to believe germ-killing spray is ineffective, when the issue is surface preparation.
- Wiping the surface too soon
Disinfectant spray must stay wet for the full contact time listed on the label. Wiping early may reduce the ability of the product to act against germs, including when people ask does germ-killing spray kill mold or does germ-killing spray kill bed bugs.
- Using too little product
Light misting may not keep the surface wet long enough. Disinfectant spray should be applied evenly so the entire surface remains damp for the required time. Insufficient coverage can leave areas untreated.
- Applying disinfectant spray on the wrong surfaces
Not all materials are suitable for disinfectant spray. Porous surfaces, unfinished wood, or certain electronics may be damaged. This mistake is common when users assume one spray is safe for all areas.
Common Questions
Does Disinfectant Spray kill bed bugs?
Most disinfectant spray products are not designed for pest control. While some sprays may affect insects on contact, does disinfectant spray kill bed bugs is generally answered no for long-term control. Bed bug treatment usually requires specialized products.
Does Disinfectant Spray kill mold?
Disinfectant spray can reduce mold on non-porous surfaces, depending on the product. However, does disinfectant spray kill mold fully depends on surface type and depth of growth. Porous materials may require removal rather than surface treatment.
Does Lysol Disinfectant Spray kill norovirus?
Some formulations are registered to act against norovirus when used according to label directions. For this reason, does Lysol disinfectant spray kill norovirus depends on the specific product and contact time listed on the label.
Does Lysol Disinfectant Spray expire?
Yes. Does Lysol disinfectant spray expire is answered by checking the product date code. Expired disinfectant spray may lose effectiveness and should be replaced.
Conclusion
Disinfectant spray plays an important role in surface hygiene when used correctly. Pre-cleaning, proper contact time, and following label instructions are key steps. Knowing where disinfectant spray is safe to use and understanding common limits helps prevent misuse.